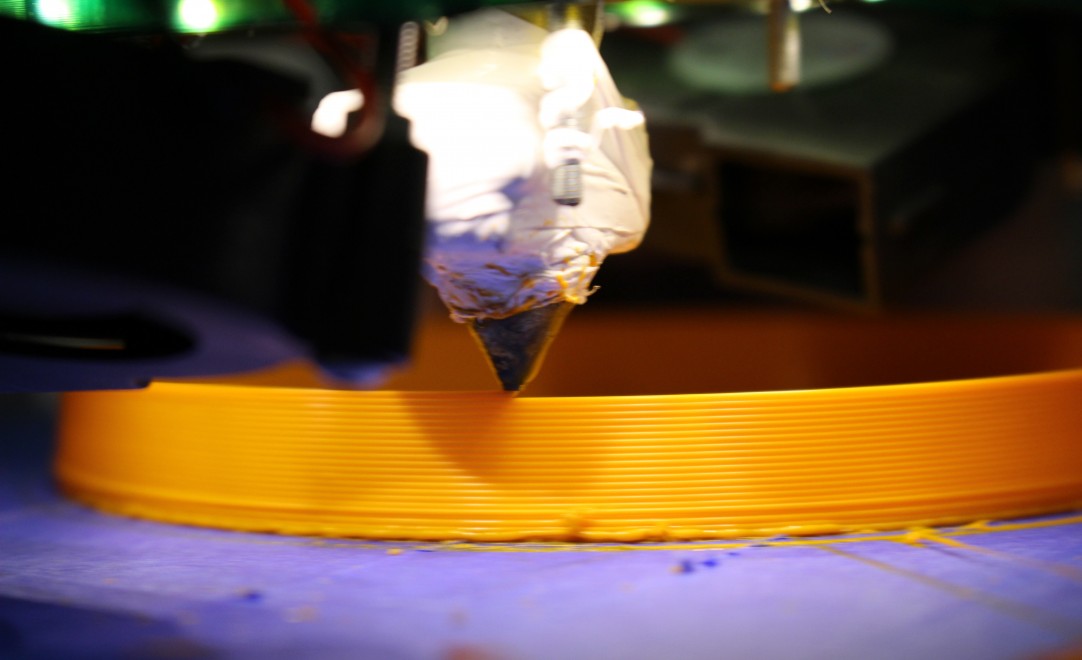
As explained in other posts the printing time of a single layer with this modified Ultimaker wasn’t quite the fastest. The motor on the external X-axis wasn’t able to move as fast as we would like so we started thinking in terms of making the printing more efficient and making the most out a position the printer would be in.
When observing the printing process we had noted the printer would make a lot of unnecessary movements from left to right and back, before going up a layer. We figured we could save time if we found a way to tell the printer first to print everything in range on the left side and once that was done, move over to the middle or right side depending on the width of the model to print.
Because of our limited time before the Science Fair and not having found the perfect general printing settings yet, a part of the team kept working on the actual setup, while others started testing these ideas on a standalone Ultimaker Original.
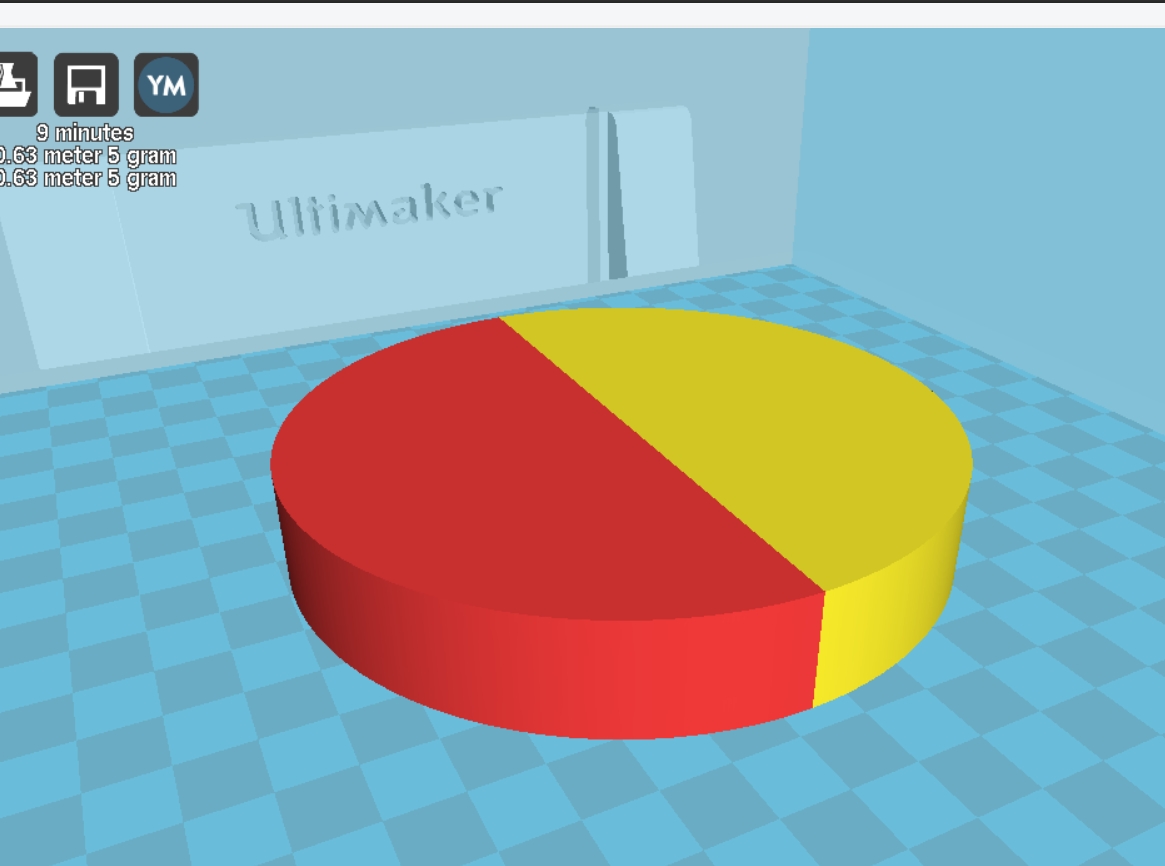
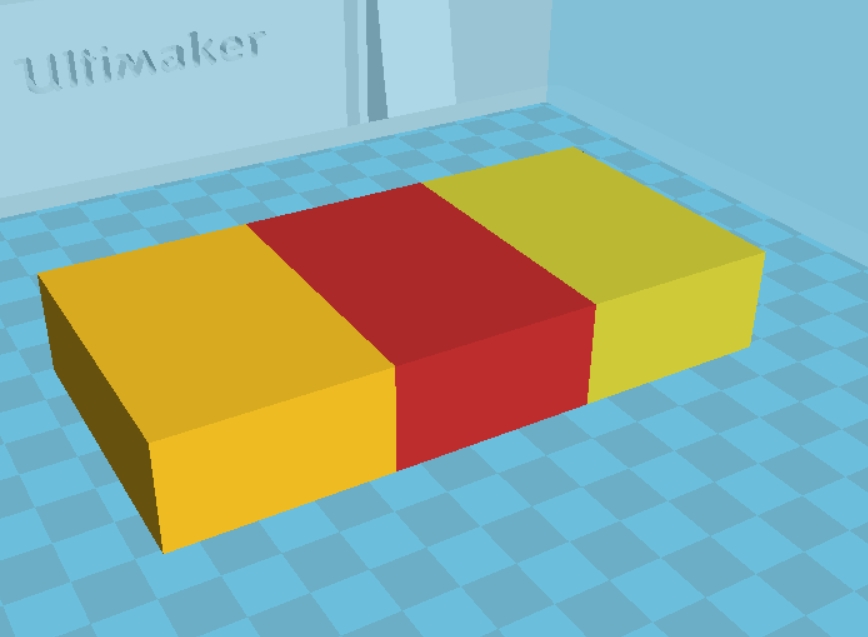
Luckily the implementation didn’t require a lot of coding or new plugins to be written. It turned out that by changing the machine settings in Cura from 1 to 2 extruders a g-code was written that made an Ultimaker Original printer with 1 extruder print models in certain parts. An other requirement though was that the model had been split into different parts which had to be made into stl’s and separately imported into Cura. By doing this it allowed Cura to understand how the partition was made and what to print first before moving to an other part.
After some tests this seemed successful as you can see in this video:
[youtube]https://www.youtube.com/watch?v=Jw2CjWDdSUA[/youtube]
First the printer is printing parts on the left side, before moving on to the right side, back left etc.
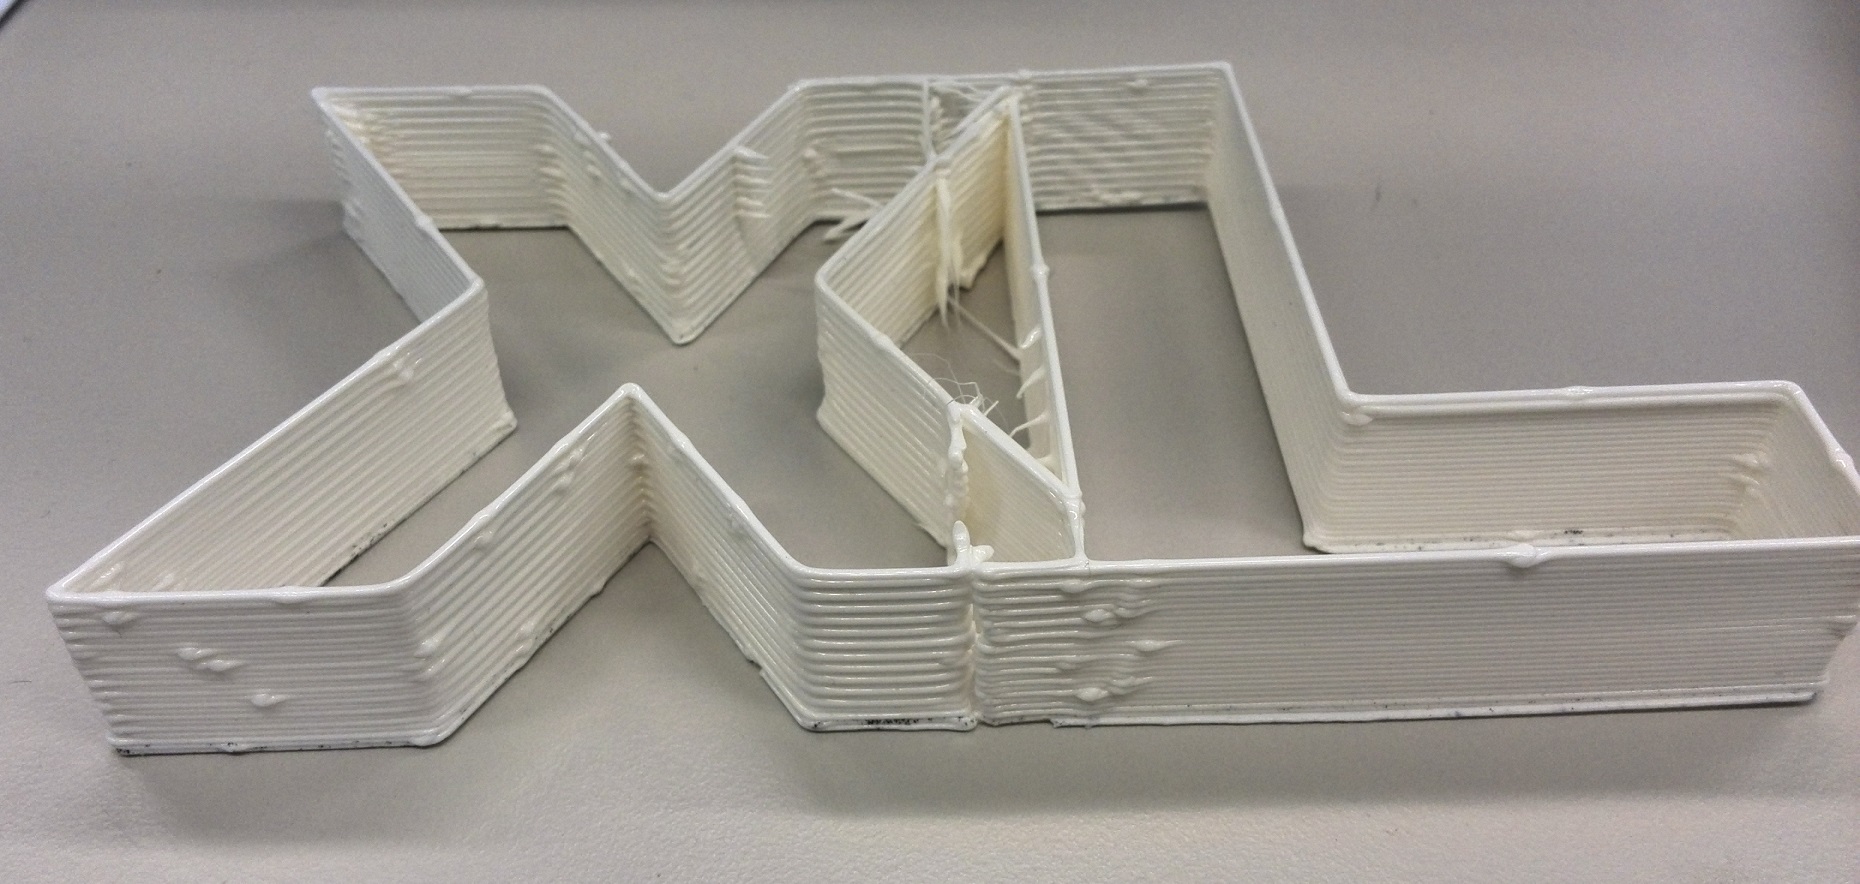
Because you’re making a print consisting of multiple parts we were afraid this might increase the weakness of the print, especially around the welt where 2 parts met. Therefor we also tried splitting the objects not with a straight line but with other curves, from serrated shapes to waves:
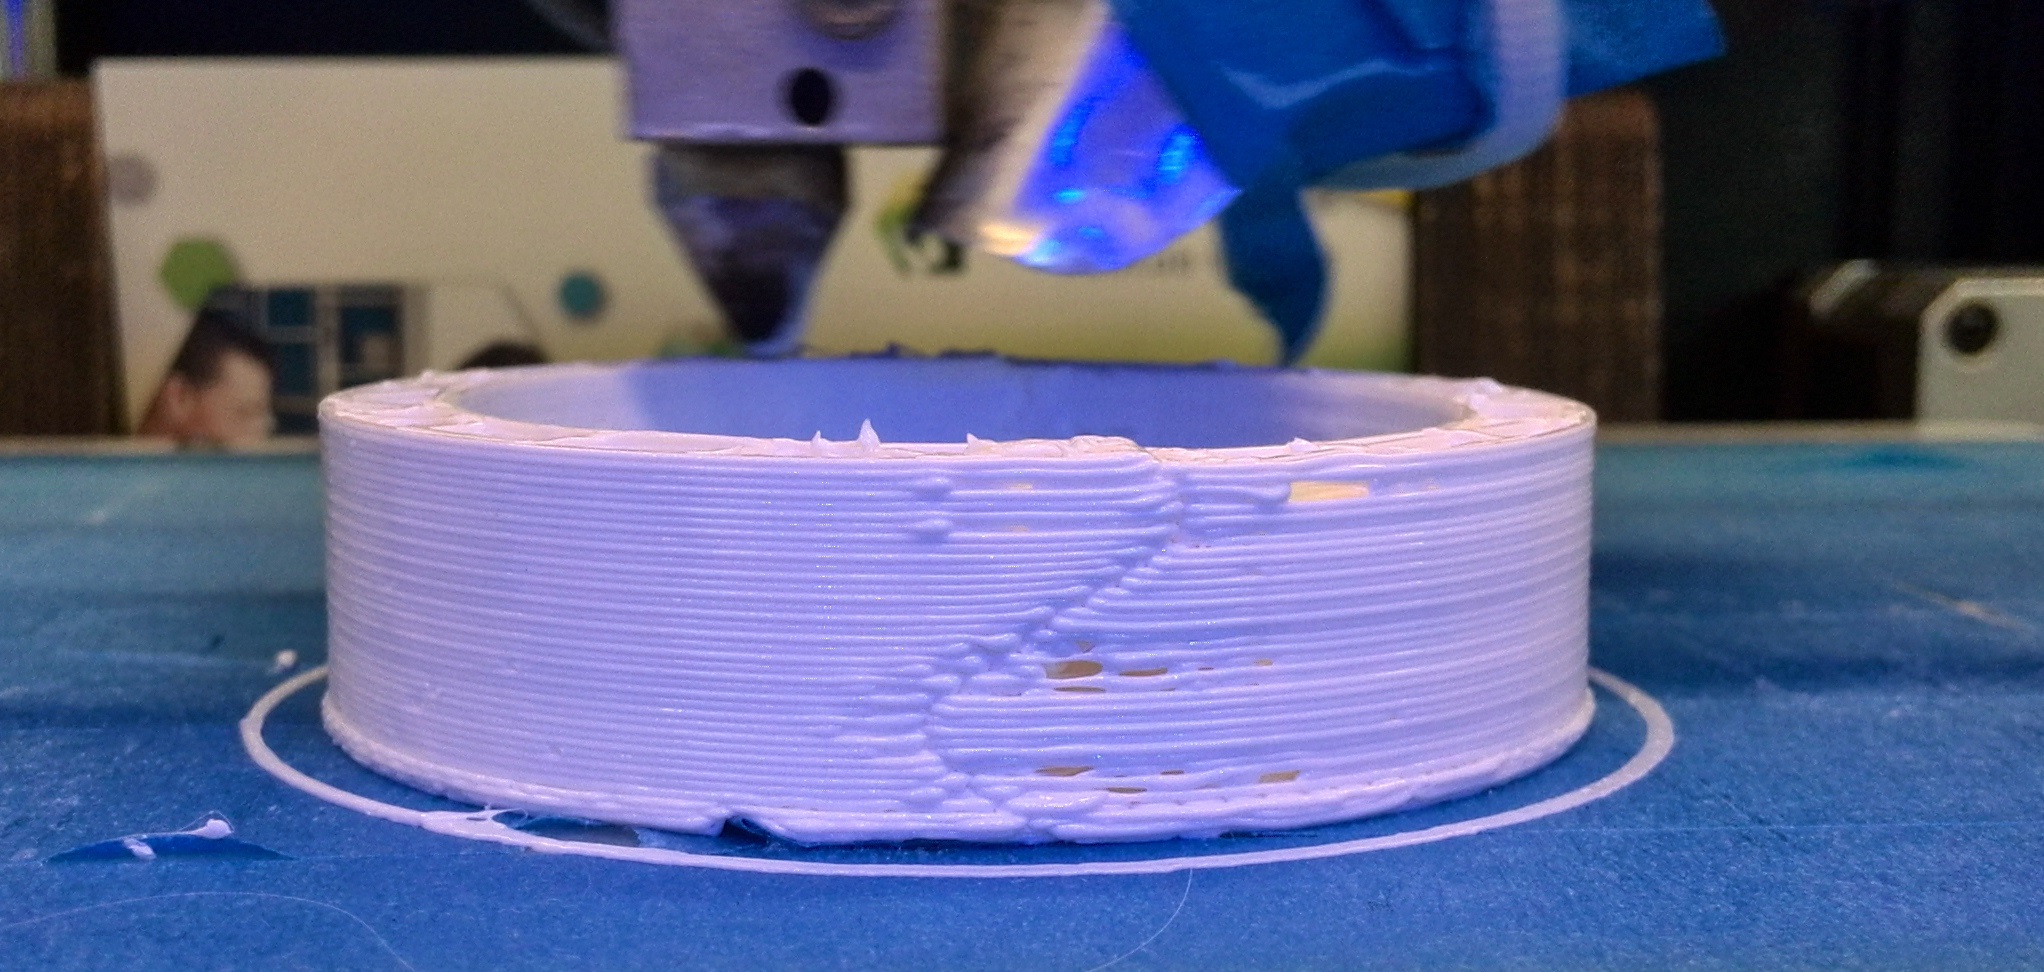

This proved to increase the strength of the objected when we tried to break it with force.
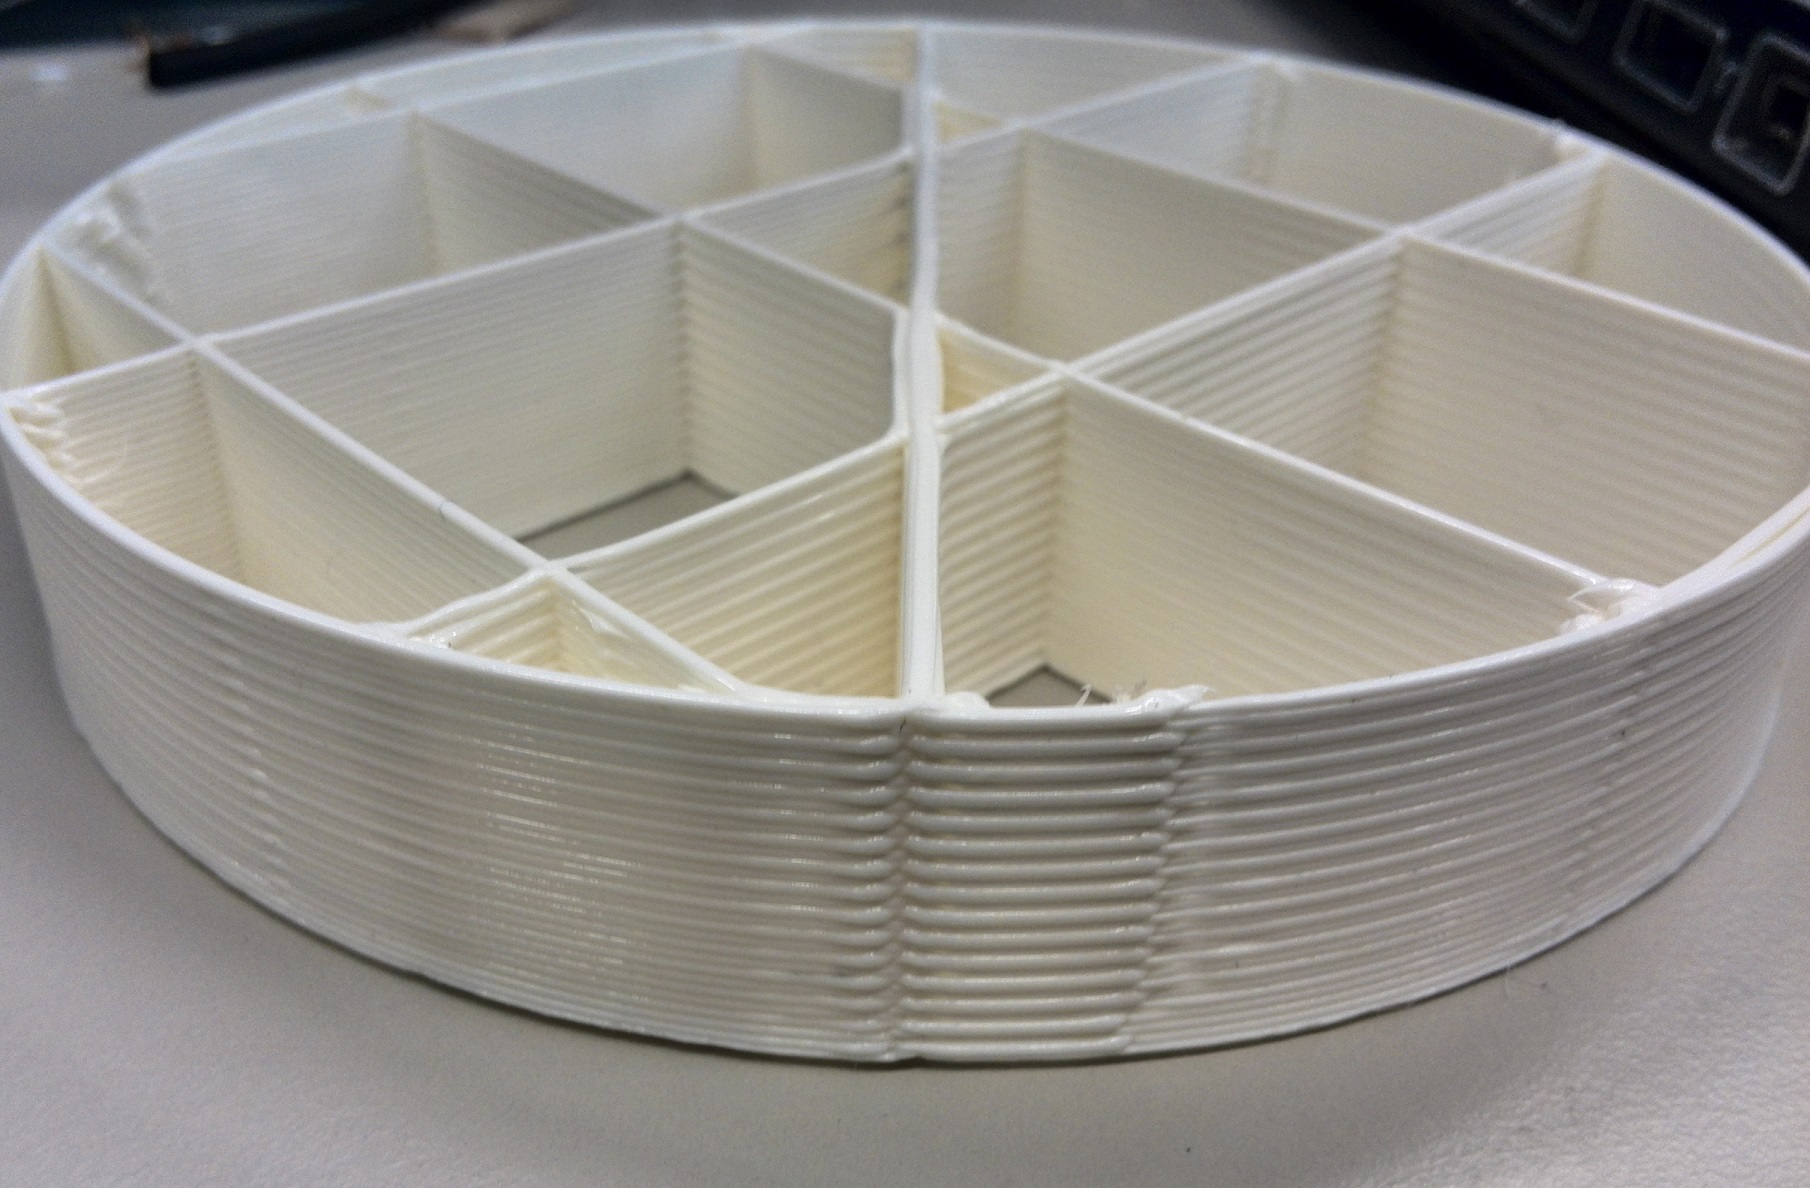
During further tests we ran into a problem when trying to print only the outline of an object. When switching to the other part, the printer often picked the opposite side which meant it had to stop printing, move and start printing again at a different Y coordinate. This resulted often in a mess of inaccurate ends/starts of lines.

A solution to this seemed to either give the object an (low percentage) infill, or thicker wall or find better positioning for the cuts of different parts.
Finally we started running tests with models split into 3 parts and Cura set to 3 extruders.
While a lot of the previous found knowledge was applicable, we ran into new problem that hadn’t come up yet with only 2 parts.
3 parts meant different orders of printing those parts were possible and soon enough it showed our printer wasn’t clever enough to pick the most efficient order of printing.


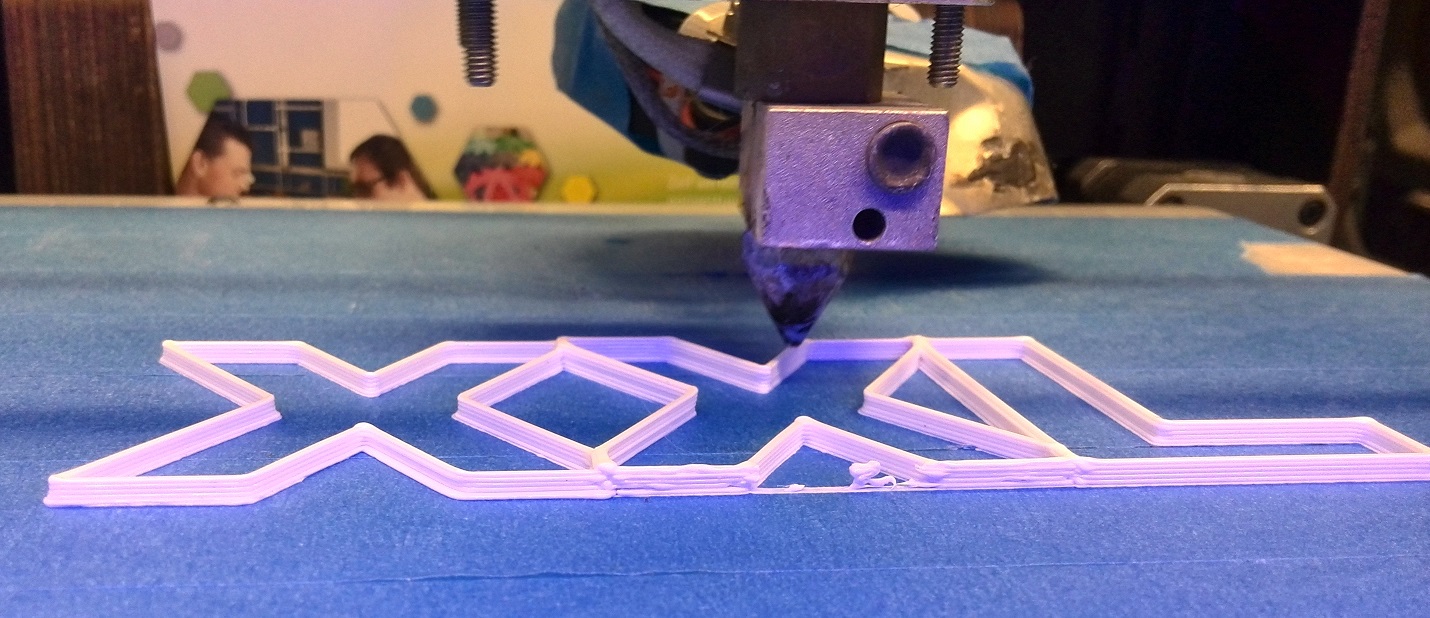
For some reason it would always start with the middle X, move to the L, then all the way to the left X before going back to the middle etc.
So far we haven’t found a way yet to make it start on a certain side and then moving back in reverse order once it had finished a complete layer; left>middle>right (up a layer) right>middle>left (up a layer) etc.
[youtube]https://www.youtube.com/watch?v=G4L7U3bBxcU[/youtube]