Since the Sciencefair is over and our available time has ended, we need to reflect on our project. First we will reflect on the process and the team, after that we will reflect on the construction and the software with the question: where are we now and what’s next?
Overall conclusion
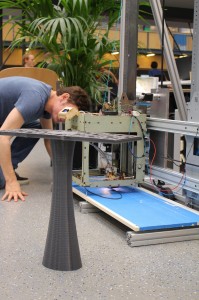
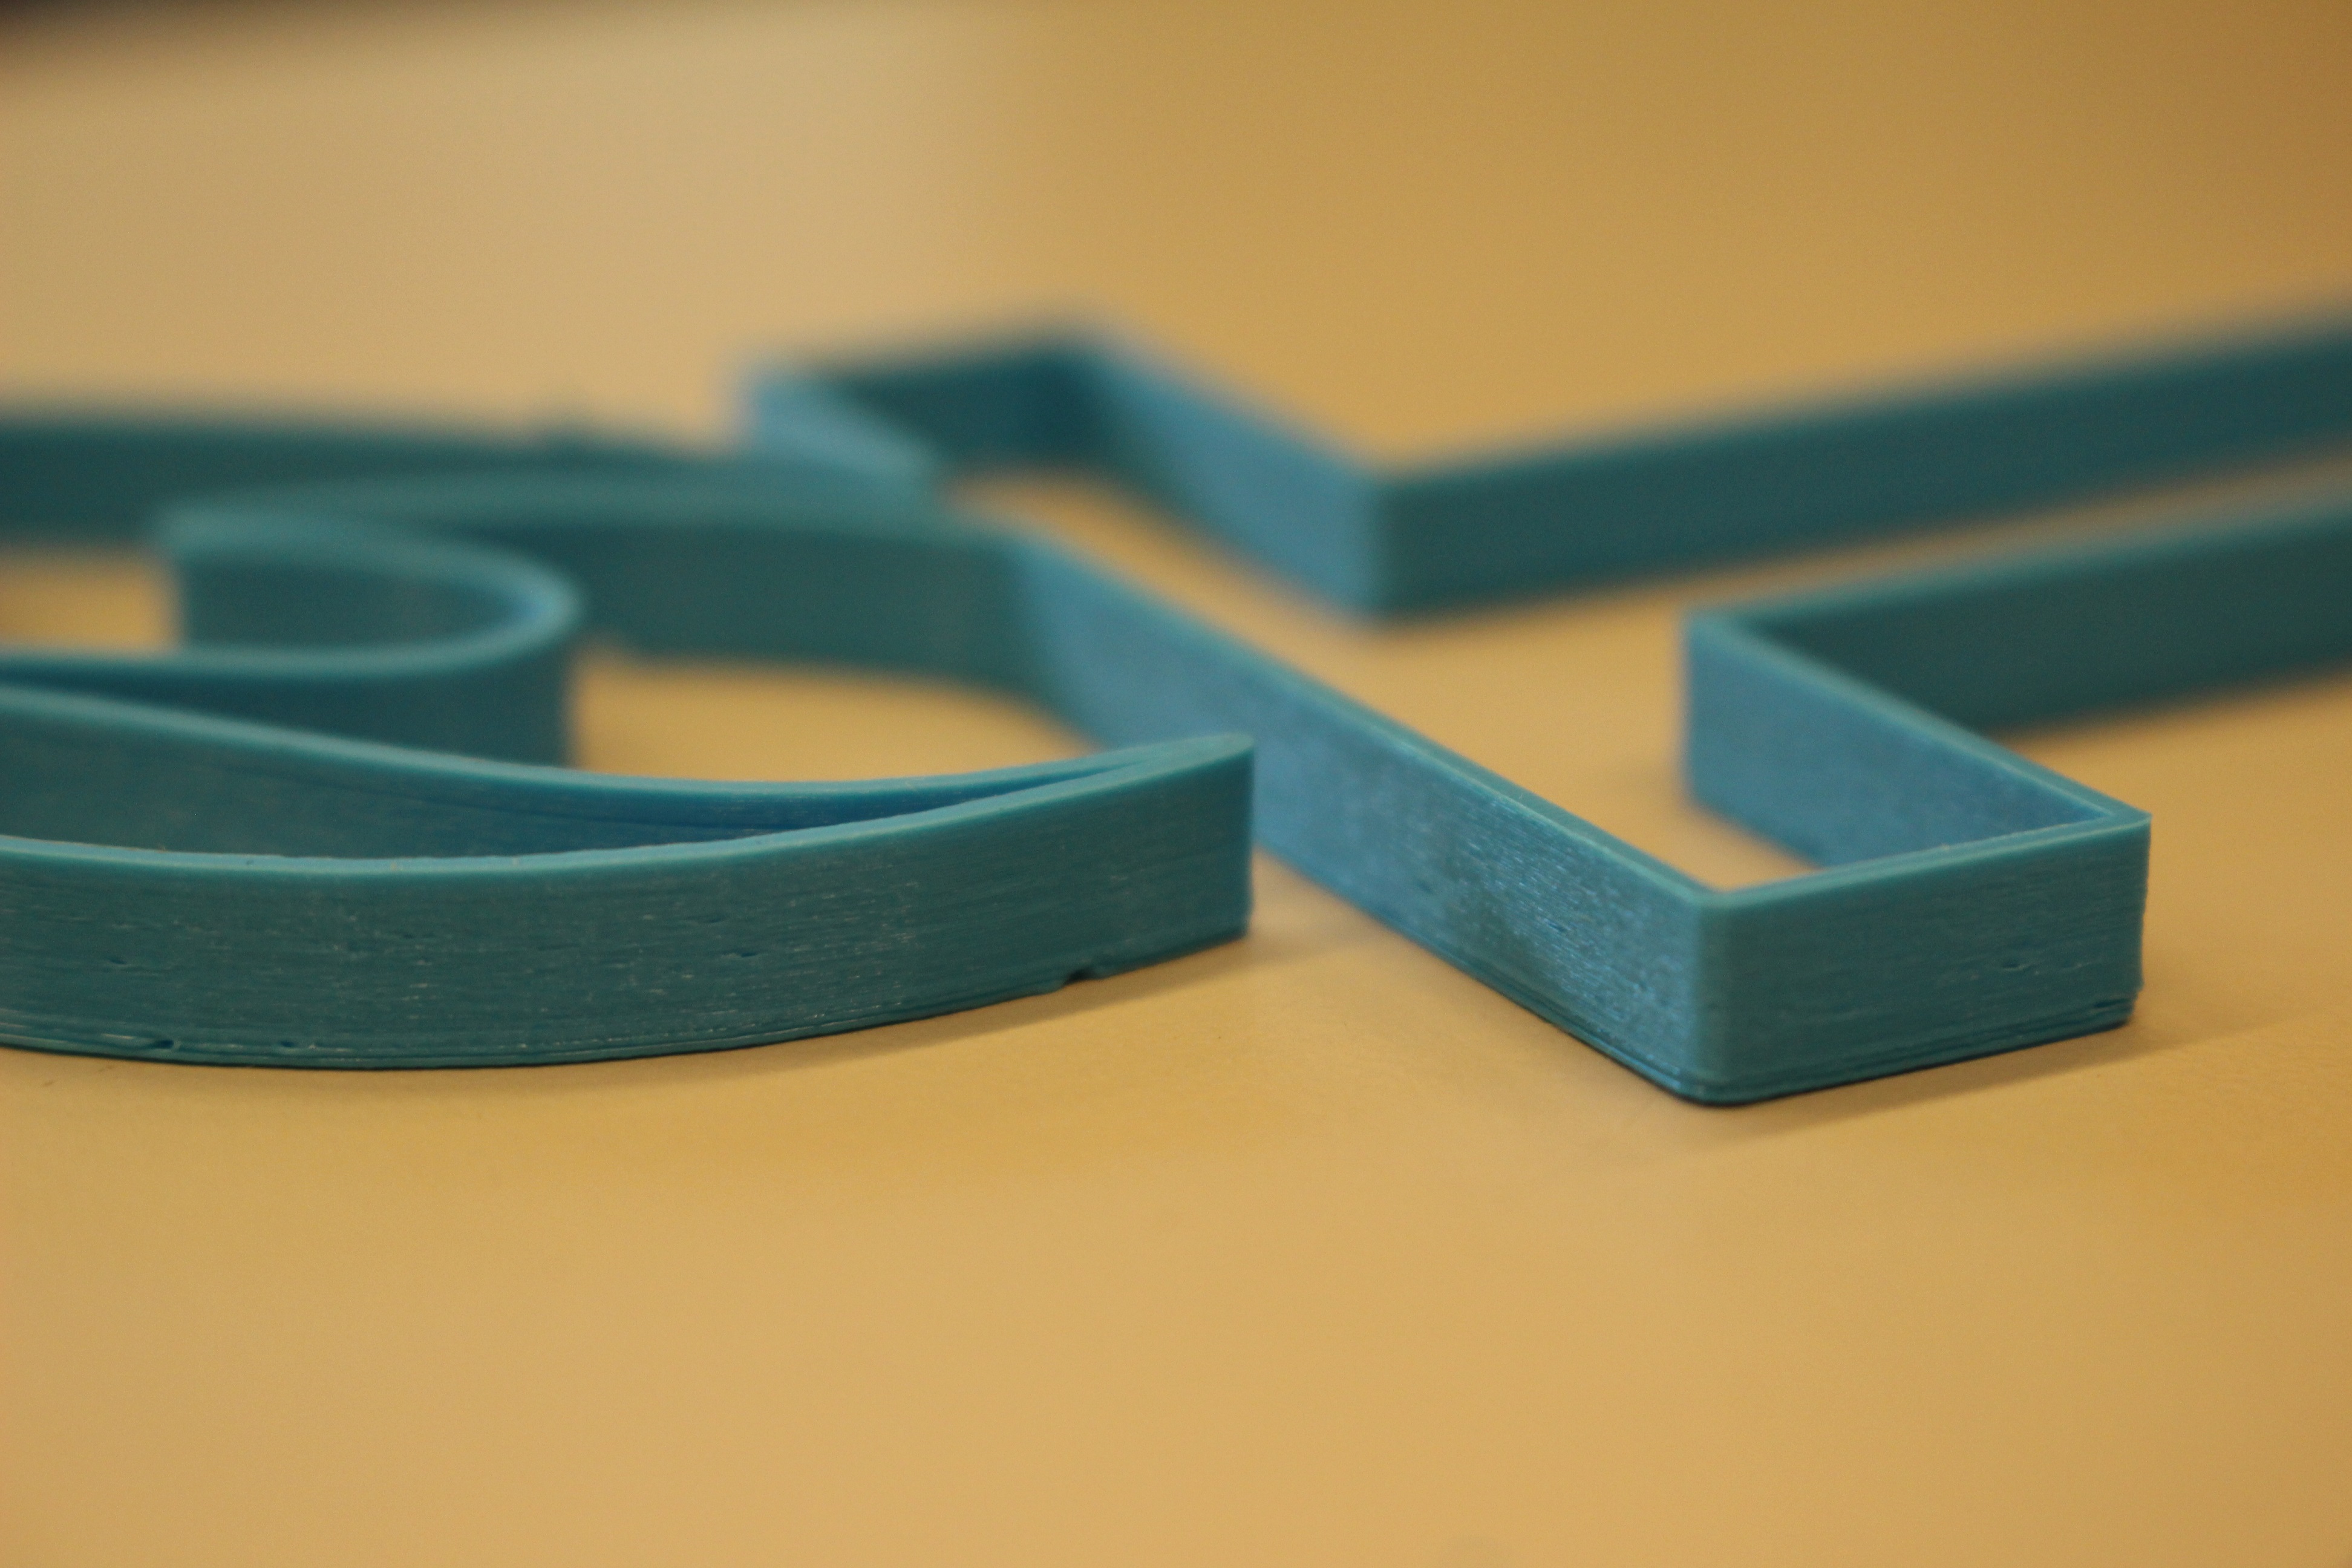
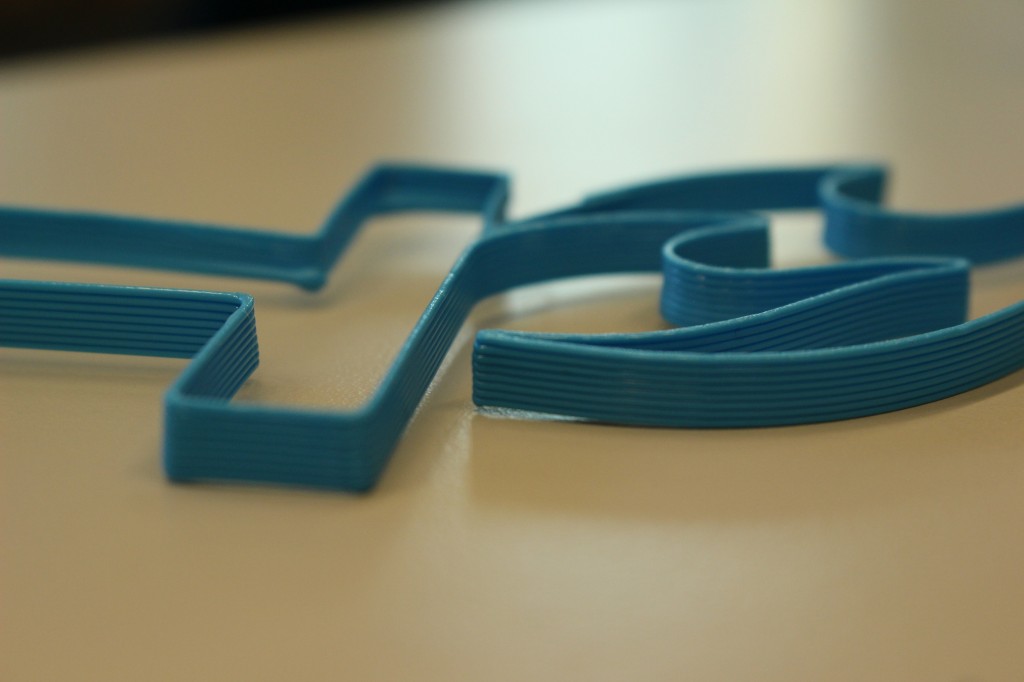
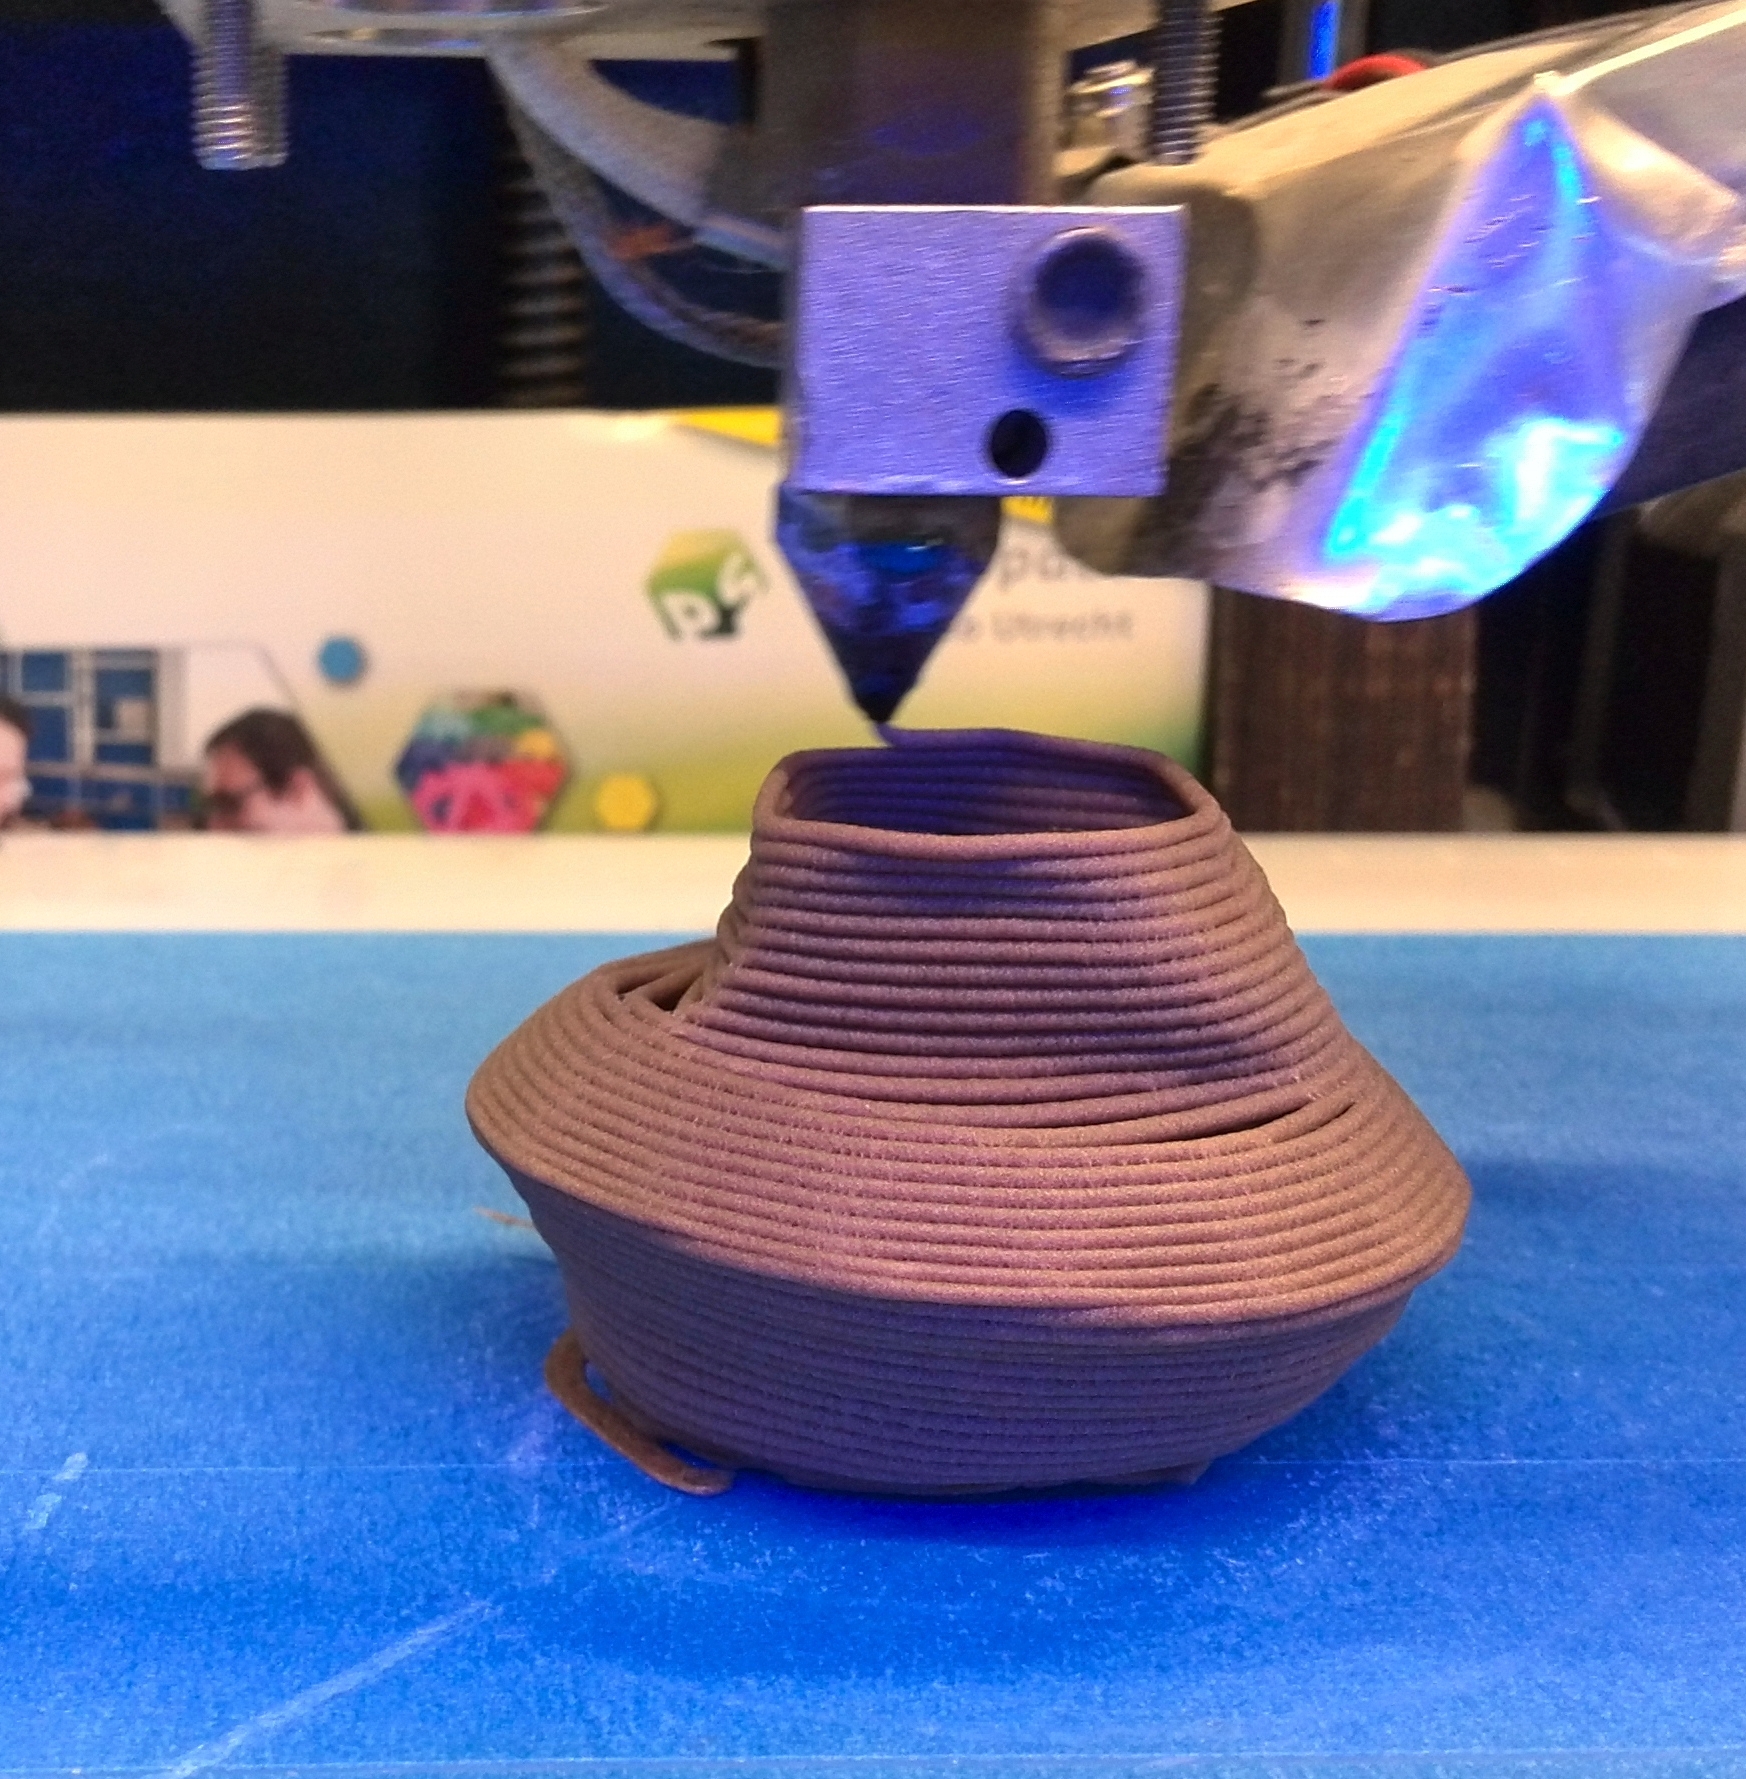
First of all, it worked! Our main goal was to get the printer to make something wider and taller than was possible before and we achieved that. We learned a lot about printing with the Ultimaker. Before we started this project, we didn’t know anything about printing with the Ultimaker at all! Besides that, we worked well together, except for some moments where we didn’t communicate perfectly. We also learned a lot about solution thinking. We were all used to calculating and sketching our ideas first, before building things. This time it was was the other way around. We could have made some more sketches, to make it work faster, but calculating was not necessary.
As mentioned before, we found it hard to plan the overall project. The first two weeks, we were working on something we wanted to work. After a chat with Dolf, we made ourselves a scheme, which helped us with getting an overview of the process and the project.
We also could have worked with a better printing bed. Our unequal printing bed didn’t help us with getting nice printing results. There are also a few more things in which we could have invested more to make it all work better. Although we choose to work with everything we had and not to buy expensive parts for our construction which lead to compromises.
Last of all: testing takes time! We tested a lot to check what was going wrong. This brought us solutions, but it also toke a lot of time. Every time the printer had to heat and go to a starting position. Besides that, the print had to run for some time before discovering problems.
So, we all think it is a pity we do not have more time to work on this project. There are a lot of things to improve and we have the first working prototype now, so actually, it should start from here!
Changes that would improve the construction and movements of the printer
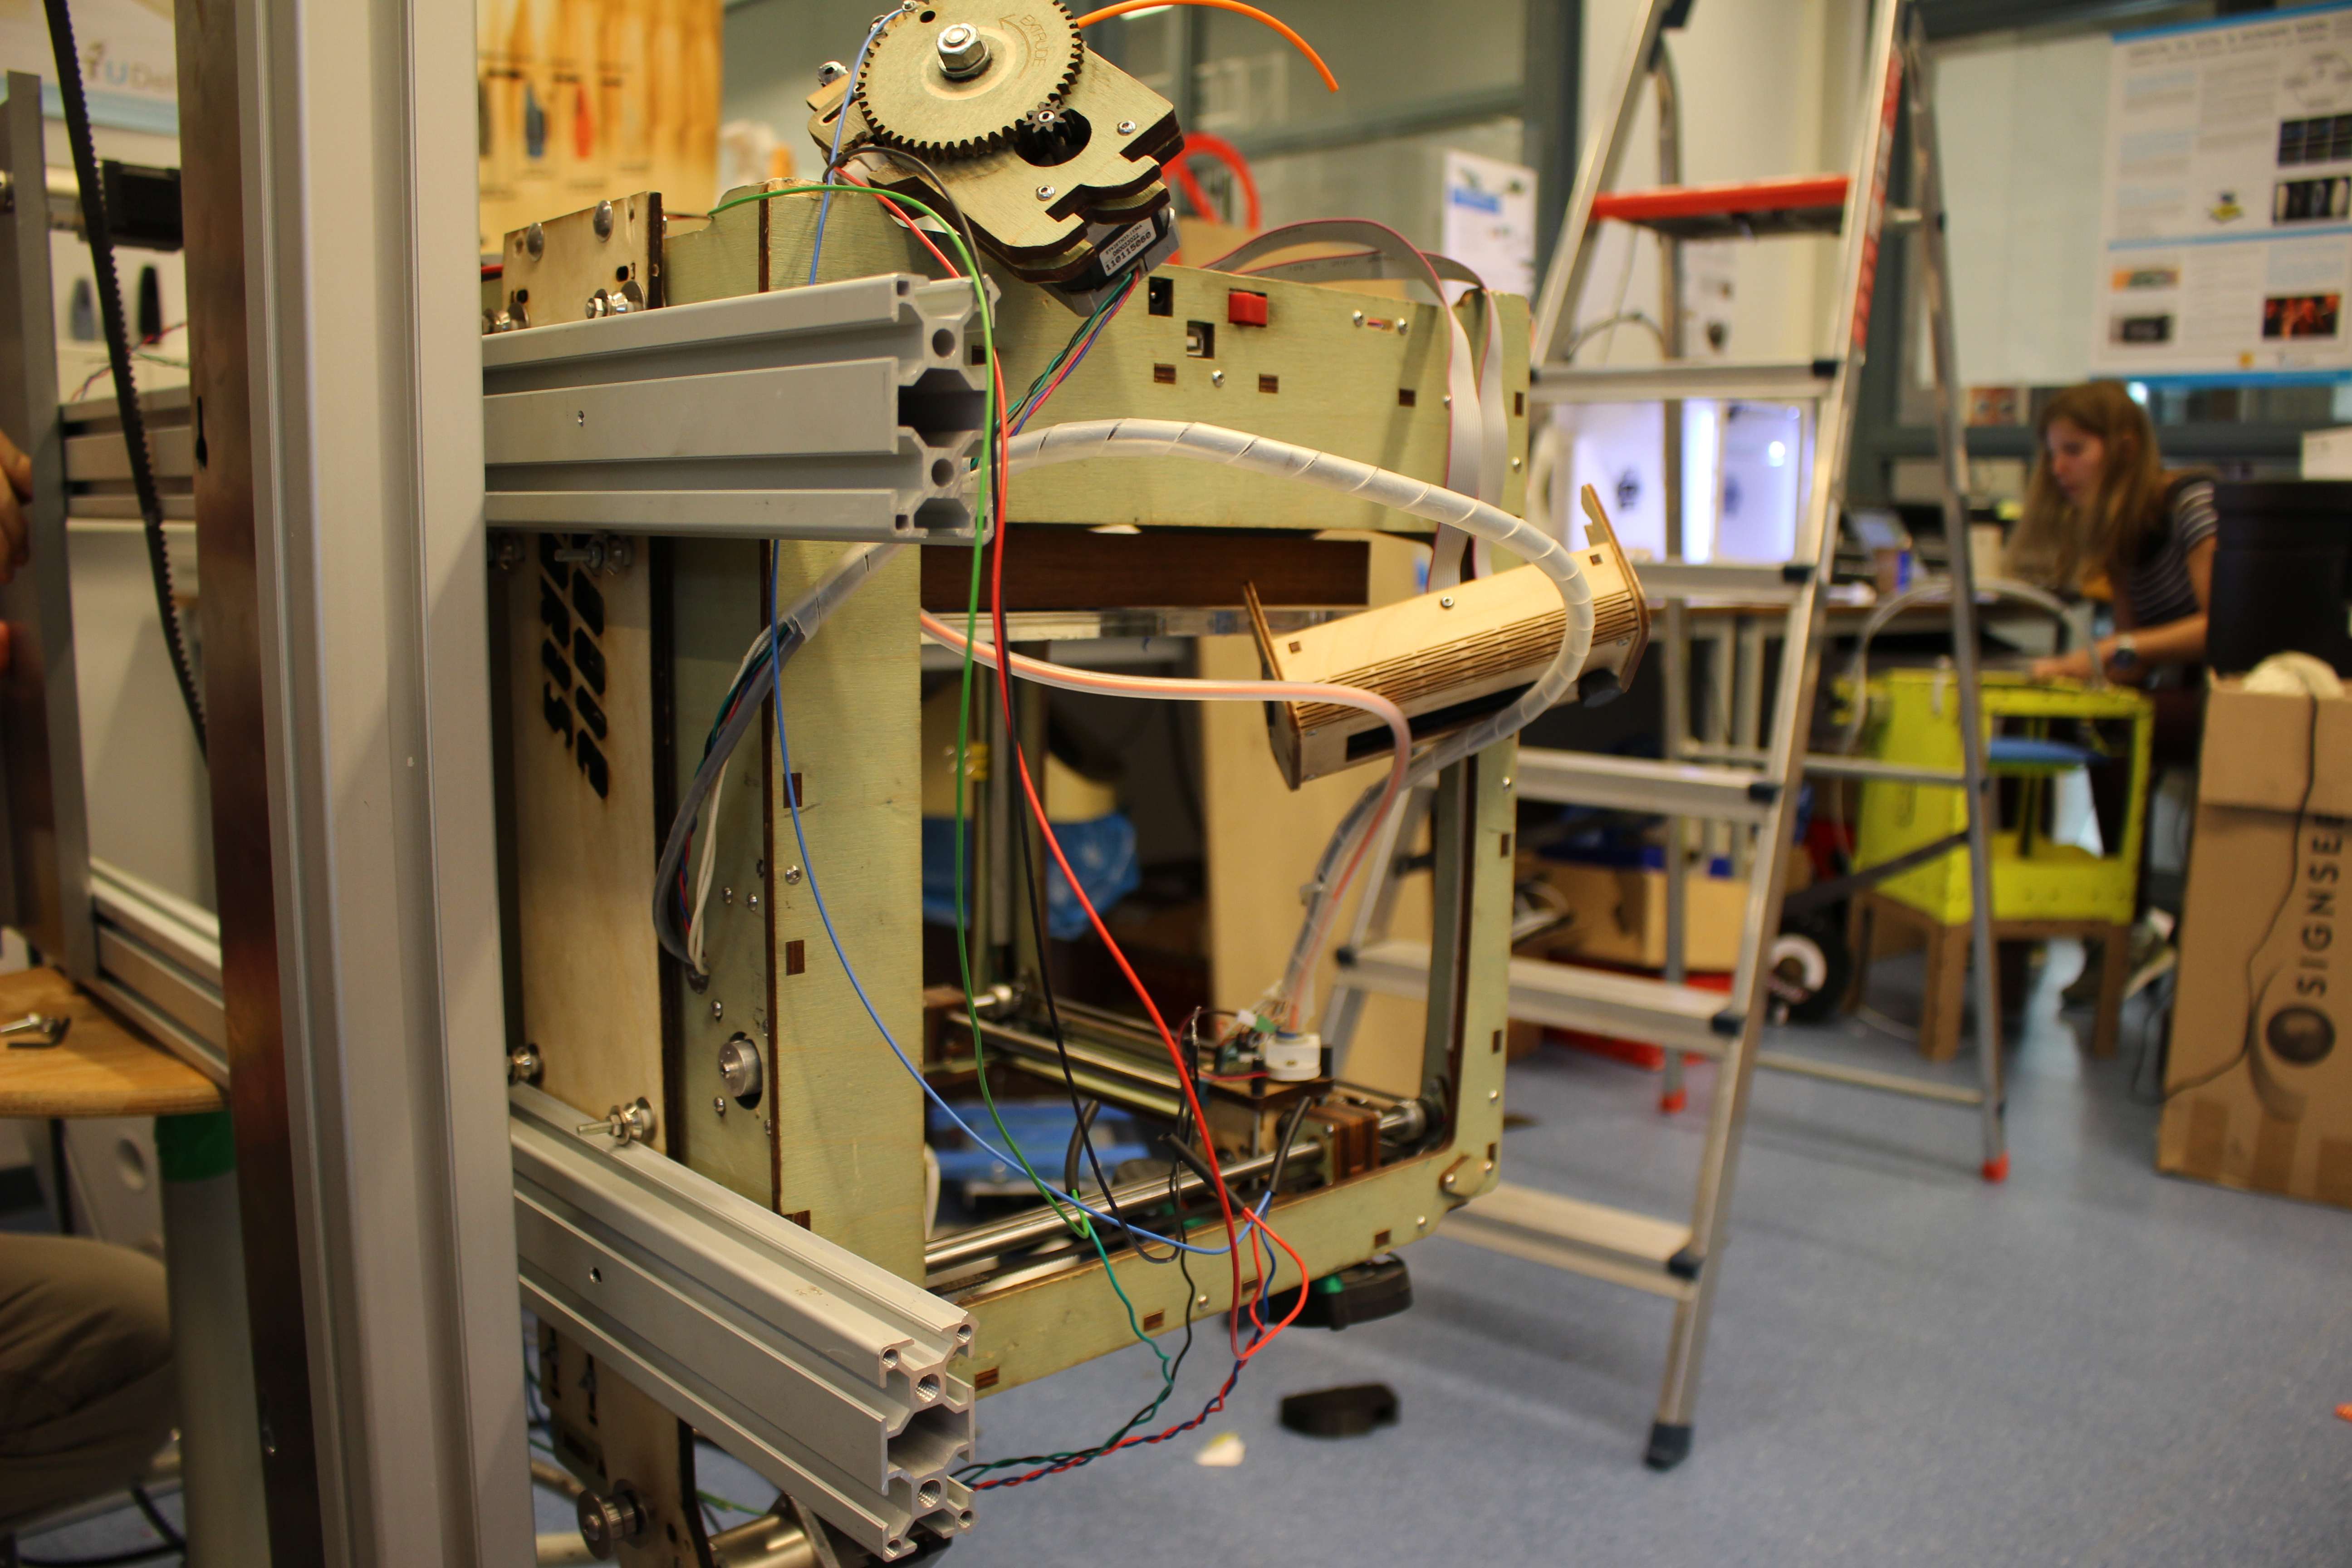
There are a lot of changes that can be done on the construction that would improve the printing result. One of the problems we had with the sideways movement of the Ultimaker, is that during movements the printer kept shaking. This can be solved easily by increasing the distance between each pair of wheels moving on the rail. Additional to this the width on which the printer is clamped, should be increased throughout the complete height of the construction. This can be done by using a steel sheet, that covers the back of the Ultimaker. A wooden plate won’t work, as it will bend and stretch because of the weight of the printer. When we used a wooden plate to mount the printer onto the rail, the holes that hold the wheels became bigger. This caused the Ultimaker to derail multiple times.
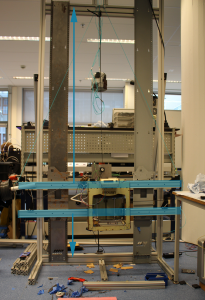
But the biggest problem with the sideways movement was the accuracy. For example, if the printer moved 200 mm to the left and should move 200 mm to the right, it wouldn’t always return to the exact same place. This can be solved by tying the belt tighter. To do this you could design a system in which you hold one end of the belt and twist it until the belt is very tight. But it would be better not to use a rubber belt for the horizontal movements, especially when covering bigger distances. This because of the fact that, an elastic material, always will bend through because of its own weight, which causes the gear to loose grip. It would be better to have the tooth on rail itself. If these two problems would be solved it would be easier to move the printer on a higher pace, then we were able to. Other things that improve sideways movements:
- using bearing wheels and not metal wheels
- mounting the stepper motor in a way it won’t be able to vibrate.
- the less weight there is to be moved, the better.
An other big improvement that we would have liked to do, is using a stronger stepper motor with a stronger transmission. This would have made the counterweight, which is quit dangerous, dispensable. Removing the counterweight, makes it possible to put the installation against the wall. Something that would have made life easier for us, would have been to be able to adjust the print bed in an easy way. A nice way to do this would be: lifting the bed straight up to eye level to adjust it, without having to lay down on the ground, whereupon you move the bed back to the ground.
Possible improvements in the software
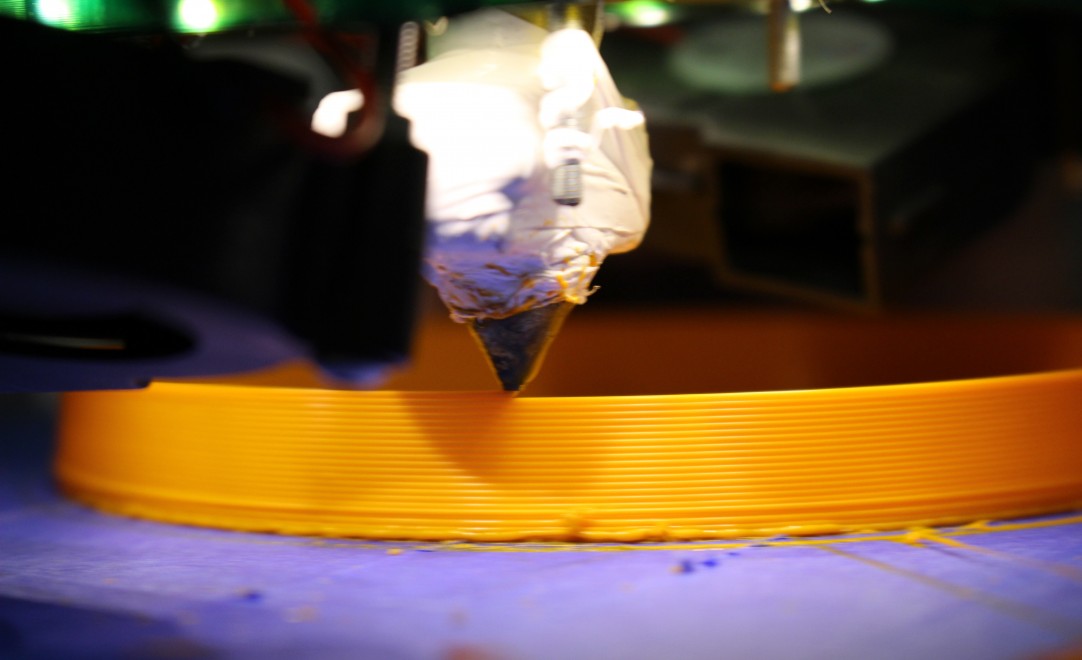
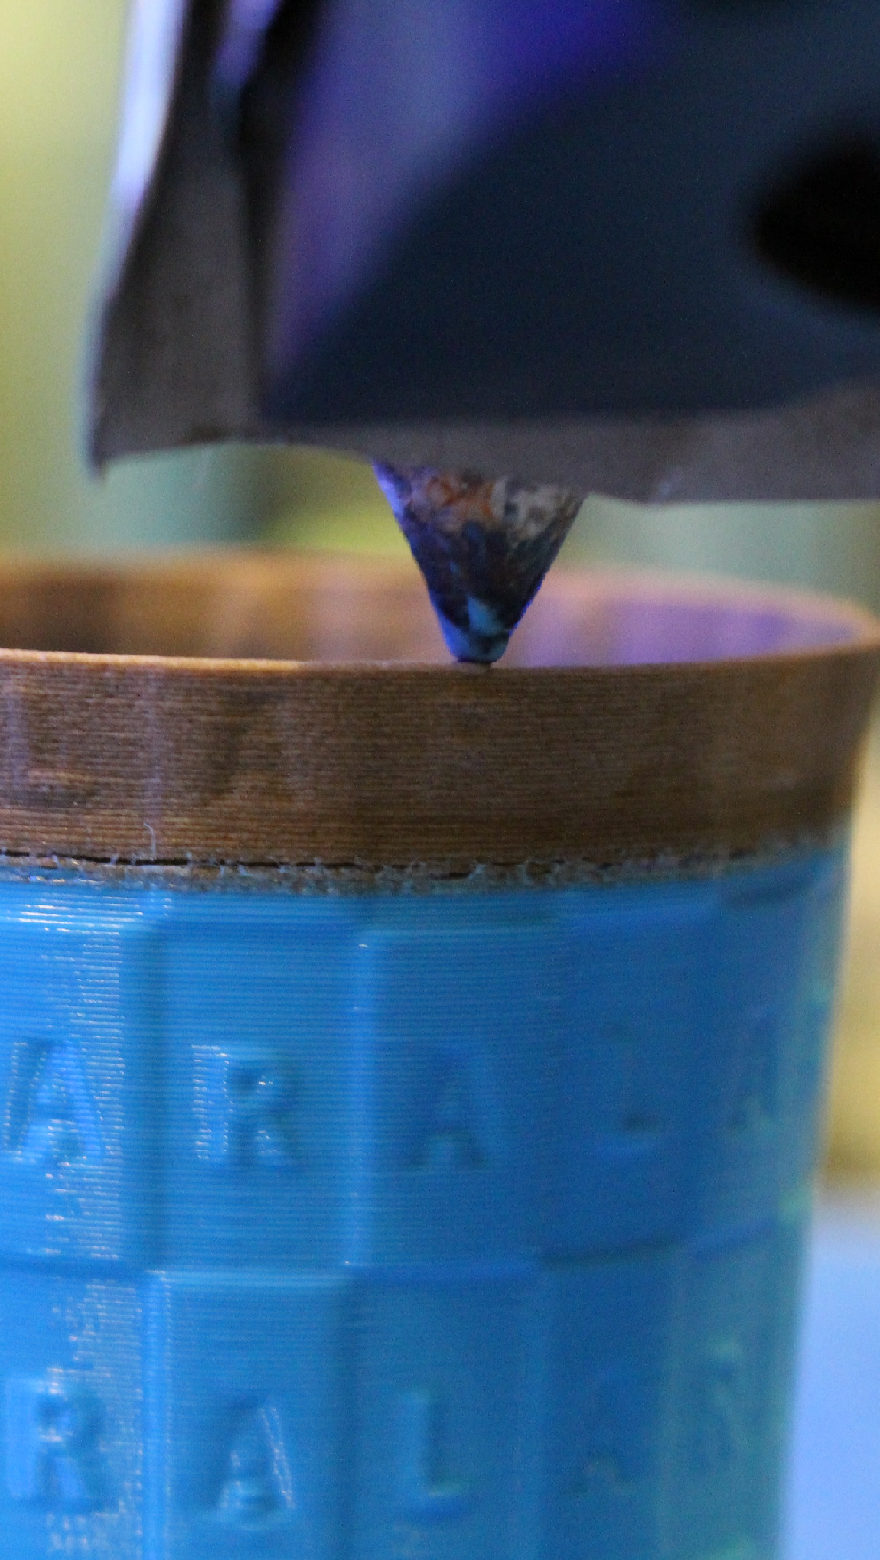
Concerning the software, the most important improvement would be to reduce the retraction. During the last few days of printing, we saw that the filament got stuck occasionally while printing. This was due to the retraction of the filament which happened during moving the ultimaker over the external x-axis. The current retraction is 20 mm (to reduce the amount of plastic flowing out while the print head is not moving). This however, allows plastic to flow back to a part of the nozzle which is not hot enough to stay liquid, and thus occasionally jamming the nozzle by attaching the filament to the side.
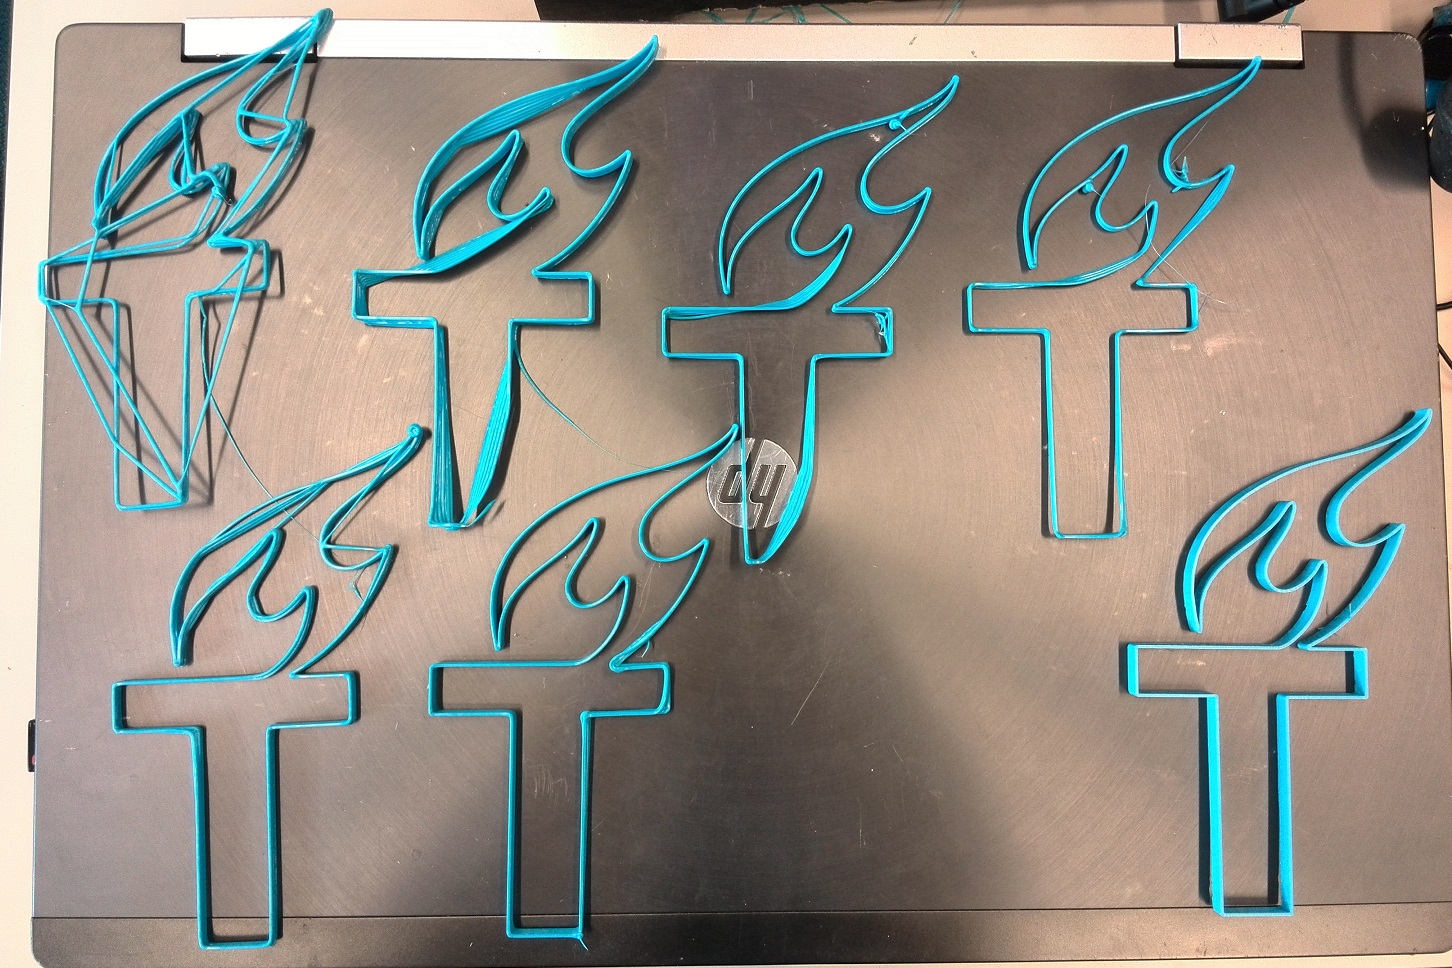
Another improvement would be to use an other slicer than Cura. Cura is only able to do one type of infill. While this is enough while printing small parts, the type of infill (diagonal lines) means that if the part is large, a lot of movement in the x-axis is required. We saw that during printing with an infill, this will cause the Ultimaker to move left and right during printing of each line of the infill at the edge of the printable area, which takes a long time.
A third improvement would be moving the print head slightly when moving the Ultimaker to completely remove the plastic flowing on the printed part. The easiest possible movement would be to make the print head move slightly to the inside of the part. Doing this will require the plugin to either know what is the inside of the part, or to assume which side is in based on the place of the printing bed. A last improvement would be to add a fix to the code which allows printing of long straight lines. As mentioned before, if the Ultimaker needs to move twice during a single line, it will move, but it will skip printing this part.
Possible improvement for the printing speed
As explained in other posts the printing time of a single layer with this modified Ultimaker wasn’t quite as fast as we would have liked. The motor on the external X-axis wasn’t able to move as fast as we would like due to various reasons, so we started thinking in terms of making the printing more efficient. When observing the printing process of a layer you could see the printer didn’t always follow the most efficient route while moving itself over the X-axis before going up a layer. With the earlier found and explained method of dividing a model into different parts and thus avoiding unnecessary (slow) movement the whole printing process could be made faster.
While we had this working almost flawlessly on a single unmodified Ultimaker, it doesn’t quite work well yet with the plugin that is needed to modify the code for a larger printing range and it would require a few days of implementing those things together and then testing it.