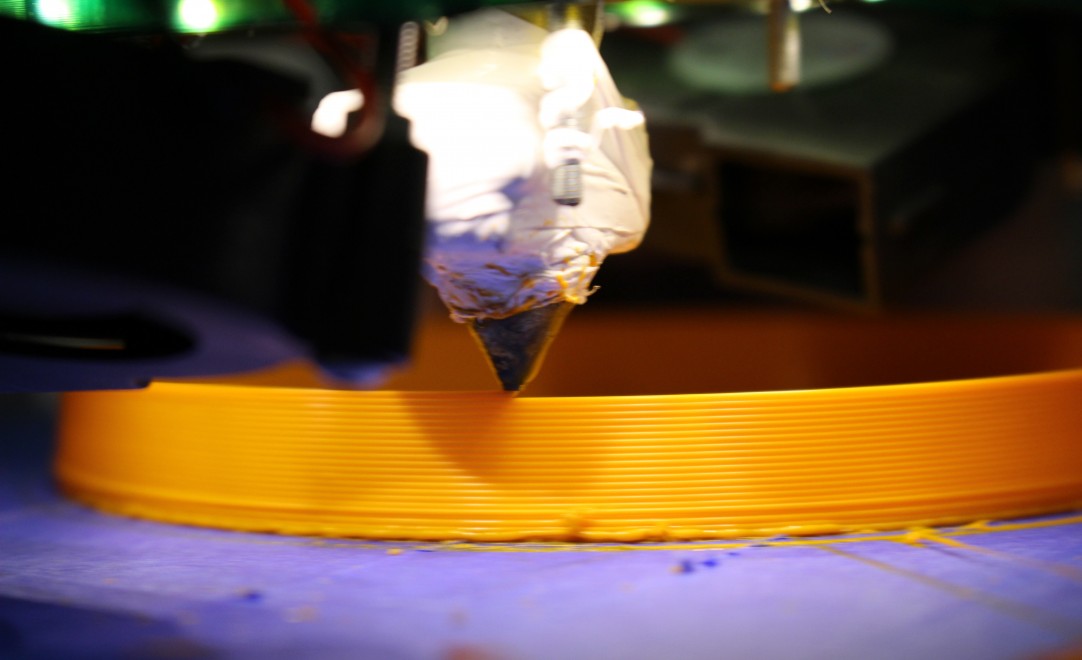
As the mechanical parts were installed and working, it was time to calibrate the printer to print smooth and accurate objects. As we encountered problems with the additional X-axis we decided to start working with only one x-axis. We replaced the inner X-axis with the outer axis.
This brought different problems to light. The normal acceleration of the printer head was to high for the external x-axis. The stepper motor kept slipping and moved further than it should. With every move the x-axis made, the difference with the layer beneath became bigger.
It also didn’t help the fact that the belt on which the stepper motor moves, wasn’t tense enough.
We also had a problem with the amount of steps the stepper motor on the bigger x-axis made compared to the y-axis stepper motor inside the Ultimaker. When we noticed this problem while printing, we tried to print a square to confirm our observation. And our observation were confirmed when the Ultimaker made a rectangle instead of a square. To solve this problem we adjusted some numbers in the firmware of the printer.
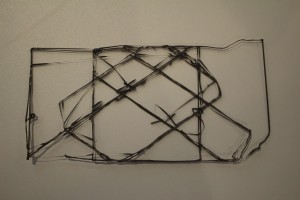
Here you see a test print. You see two rectangles with overlap, because of a shift that happend.
A third problem we encountered was that the internal x-axis kept moving a little when the printer shifted from left to right and back again. Because there was no electric single to the stepper motor, there was no ‘brake’ on this axis.
We didn’t continue with the idea of working with only one x-axis, even with the fact it was very promising. As it is eventually the plan to make multiple printers work together two axes per printer are effective.
So we continued with the original plan: getting the printer to print while using two x-axes.