After four weeks the project has come to an end and we can say that we have achieved most of our goals.
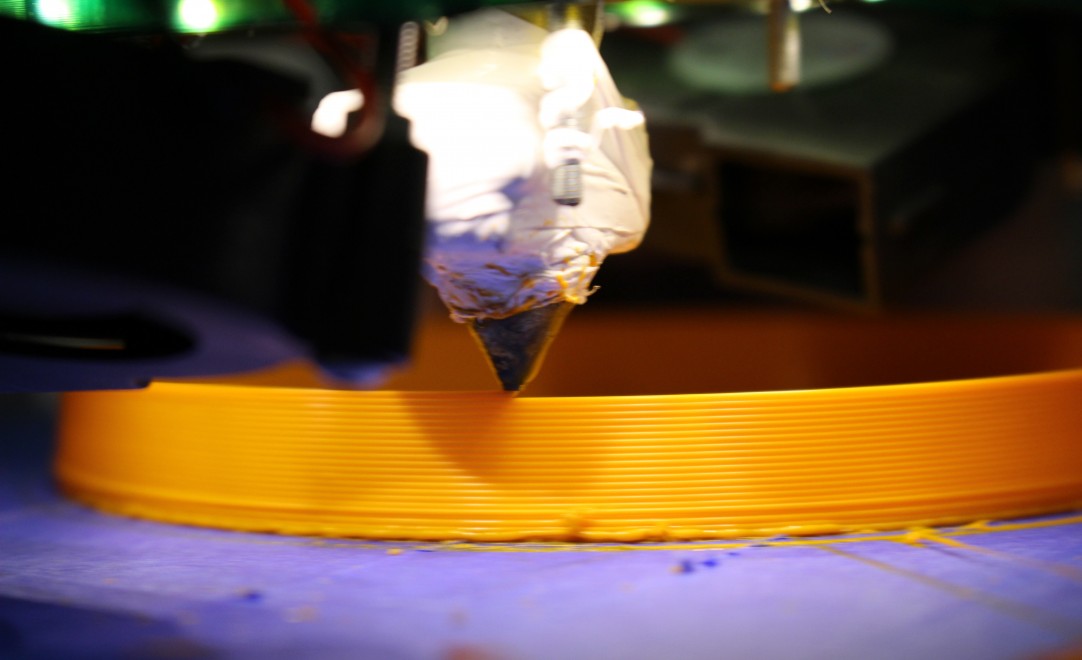
The printer is working correctly, precisely and better than we had expected. The maximum size that we can print with our particular installation is approximately 1000*800*200 mm. With some simple adjustments to the frame, we would be able to print up to 2000 mm high.
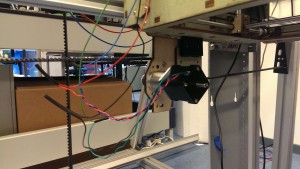
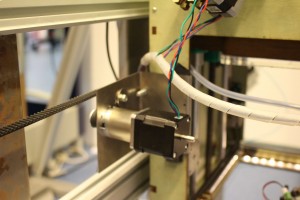
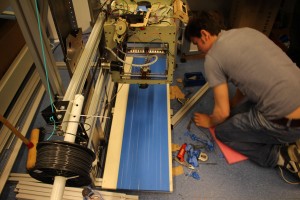
How the mechanics look now compared to two weeks ago:
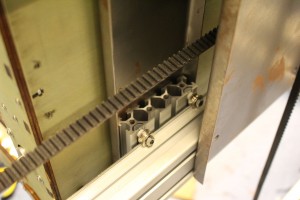
We have changed the place of steppermotor which moves the Ultimaker along the bigger X-axis. This way we are now able to print on the total Y-axis of the Ultimaker
An other thing we have changed is the printbed. In the first three weeks we weren’t able to adjust the height of the bed as it was resting on three beams. We didn’t need a real precise flat bed, as we didn’t werent able to come close to the point that the print was effected by the bed. The printer itself was the biggest problem, for failed print. As the printer became more precise we needed find an adjustable (very) flat bed. We used a 12 mm triplex. We drilled 6 holes in the wood and used screws and bolts to adjust it. We would have prefered to use thick plexiglas which is very expensive.
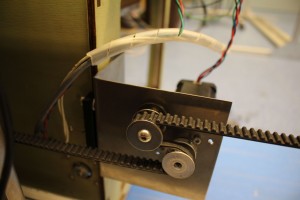
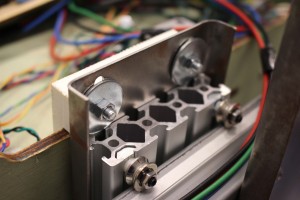
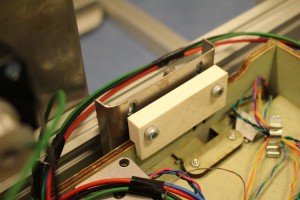
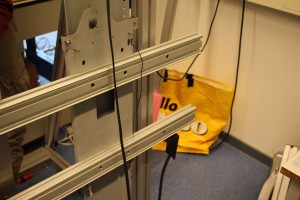
And as we told in an earlier post we also changed the way the Ultimaker was attached to the horizontal tail. We replaced the earlier used wooden plate for a steel plate. The reason for this was that the holes in which the rails were fixed, got bigger. And because of this the printer fall off the rail a couple of times. The resulting product can be seen in the picture beneath.
This were the major adjustments in the construction of the installation. For the rest there were some little tweaks here and there.
