Plugin functionality

plugin logic

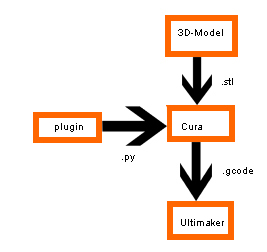
Since the plugin is finished, we will explain how it works. The plugin processes the cura generated g-code. The first thing it does, is read the line. If the line includes “LAYER”, a line containing “=====” is written, after which the layer line is written.

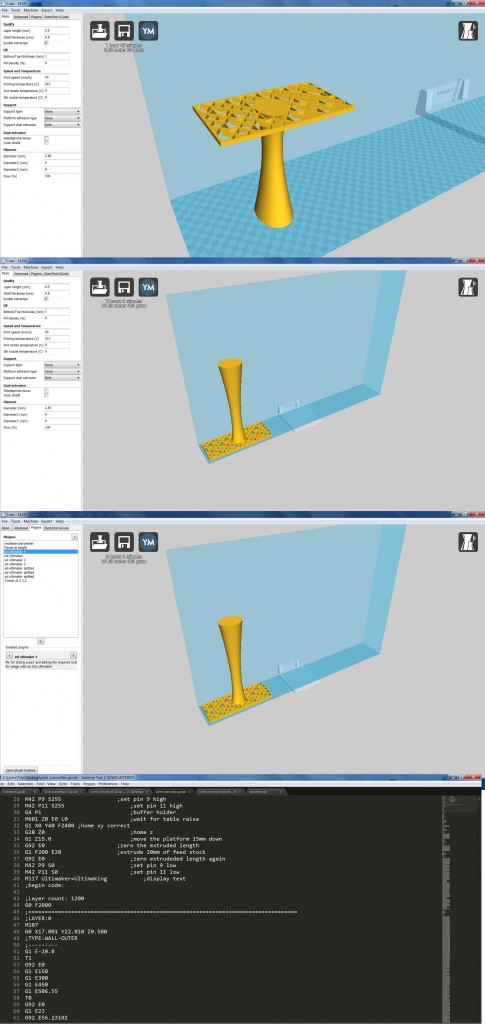
If the line contains a “X”, the value of x and e is read and stored in variables. If the x is lower than 0 or higher than 200, the bed moves 150mm, else the value of the bed position is reduced from the value of x, and the line with the new x value is written.

The sequence of moving the bed consists of first retracting the filament, switching to the second extruder (which controlls the external x-axis), moving 150mm while moving the internal x-axis to the other direction, switching back to the first extruder, and undoing the retraction. In order to reduce the amount of errors, the extruded values are zero’ed before retracting and moving, and restored at the end of the sequence (by using the earlier read value of e).

the limitation of this is that it is only possible to move to the left or right one step. If the x-coordinate increases more than 150 (because the model contains a long straight line), the generated code will not be correct.

Required steps to print

Since the project is almost over, and the ultimaker xxl is finished and (almost) fully functional, we will explain the steps required to print with this modified Ultimaker.

The first thing to do is to load the file you want to print into cura. This file does not have to be modified or split in any way, this will be done by the plugin. The only requirements the model has to be printable is that it can’t contain straight lines longer than 150 mm (however, slightly curved lines are no problem) and that the model can’t have large overhangs.

After importing the model in cura (increase printbed size if it doesn’t fit), the part can be rotated, scaled and moved. The part has to start at the left side of the printable area to reduce the required print time and reduce the risk of errors during printing.

The next step is to enable the required plugin in the plugin menu (and, if it isn’t available, to place the plugin in the plugin folder). The plugin converts the cura generated g-code to code that is able to controll both the internal and external x-axes. Make sure the plugin is displayed on the lower side of the menu.

After enabling the plugin, the g-code can be generated by clicking the save toolpath or toolpath to sd button on the top side of the screen. If you want to check that the plugin functioned correctly, it is possible to open the generated g-code in a text editor and look for lines filled with “========”. If these lines are present, the plugin functioned correctly.

The final step is to manually move the ultimaker to the left-most position on the external axis. This due to the lack of end stop for the external x-axis. After this is done, the file can be selected and the printing begins.Untitled-2

Wat nog te verbeteren

2014-10-14 09.44.26
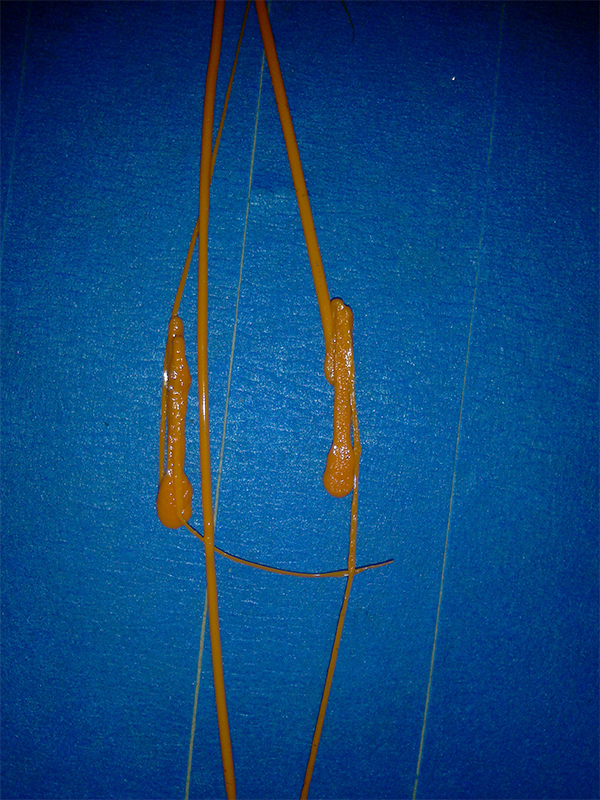
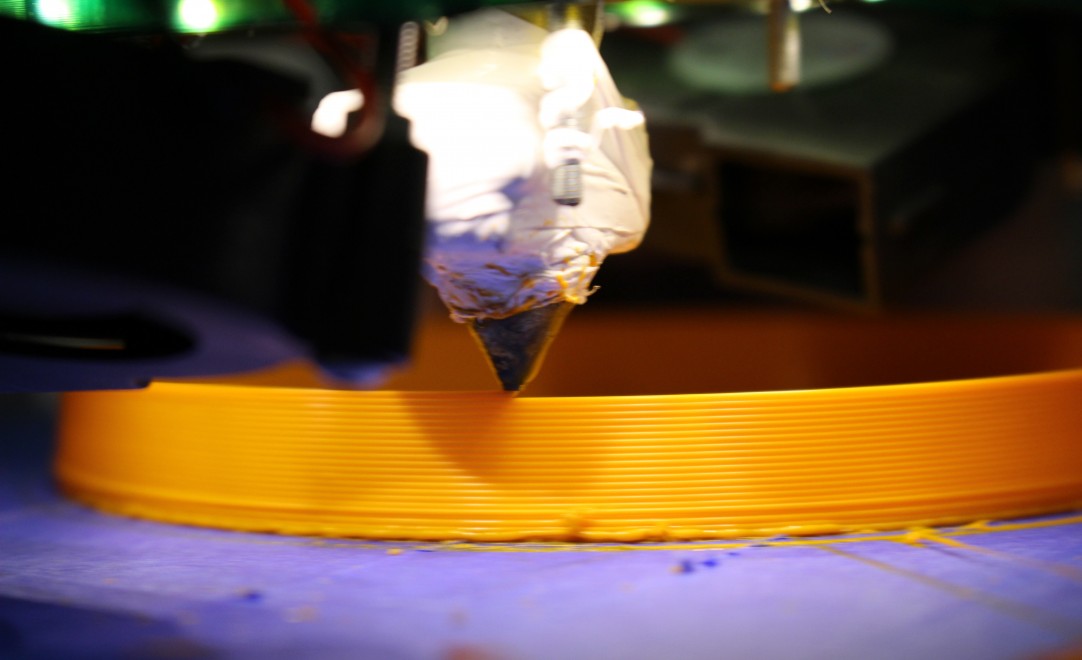
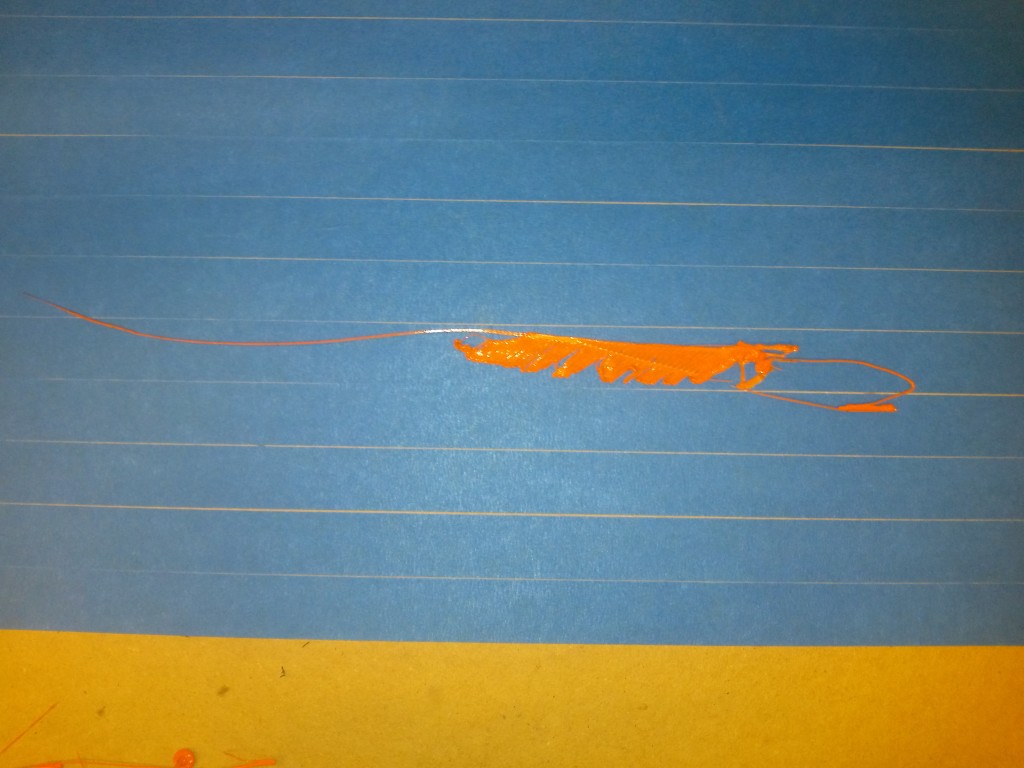
Gistermiddag waren alle aanpassingen in de constructie doorgevoerd zodat we konden gaan testen. We hebben dus kunnen testen met de ‘dubbele’ x-as. Hierbij ging nog een aantal dingen fout.

Ten eerste was de plaat die we als printbed gebruikte niet vastgemaakt aan de constructie, waardoor deze een beetje krom lag. Daardoor was de afstand tussen de printkop en -bed niet overal evengroot, wat ervoor zorgde dat de print de ene keer niet hechtte en de printkop de andere keer in de houtplaat duwde. Untitled-2

Het volgende probleem was dat de afstand om de externe x-as te bewegen niet goed in de code stond. Deze afstand moet bepaald worden door ‘trial and error’, doordat de overbrenging tussen de motor en de as niet bekend is. De hierdoor ontstane afwijking is te zien in de tweede foto.

Het laatste probleem was dat er in de tandriem van de externe x-as een beetje speling zit doordat deze riem niet strak gespannen is. Dit zorgt ervoor dat de printer als hij opzij moet bewegen, niet dezelfde hoeveelheid heen en terug beweegt.


Gebruikte software en gemaakte plugins

Het doel is om de g-code voor de Ultimaker xxl volledig te kunnen maken met behulp van Cura. Om dit te kunnen doen, hebben we een plugin voor Cura gemaakt. Deze plugin zet de door cura gemaakte g-code om in een code waarbij er een tweede x-as is toegevoegd. Hieronder zullen we uitleggen hoe deze plugin werkt:

Het eerste wat gedaan wordt is dat de door Cura gemaakte g-code wordt ingelezen. Vervolgens wordt er in iedere regel gekeken wat in die regel staat. Op het moment dat er een x-waarde in de regel staat, wordt deze waarde uitgelezen en vergeleken met een vooraf ingesteld maximum. Op het moment dat dit maximum overschreden wordt, dan worden er enkele regels code toegevoegd om de interne x-as terug te zetten, en de externe x-as verder op te schuiven.flowchart

Dit opschuiven van de externe x-as wordt gedaan door te wisselen naar de tweede extruder (welke vervangen is door de motor voor de externe x-as). Nadat gewisseld is, wordt deze tweede extruder aangestuurd om op te schuiven. Uiteindelijk wordt teruggewisseld naar de eerste extruder om het printen door te kunnen zetten.

Verder hebben we enkele kleine dingen voor de leesbaarheid van de g-code toegevoegd, zoals lijnen om duidelijk aan te geven waar het einde van ieder laag is.